 Hi I would like to draw icons in xaxis of the bar chart instead of values. Like the chart below
可以将文章内容翻译成中文,广告屏蔽插件可能会导致该功能失效(如失效,请关闭广告屏蔽插件后再试):
问题:
回答1:
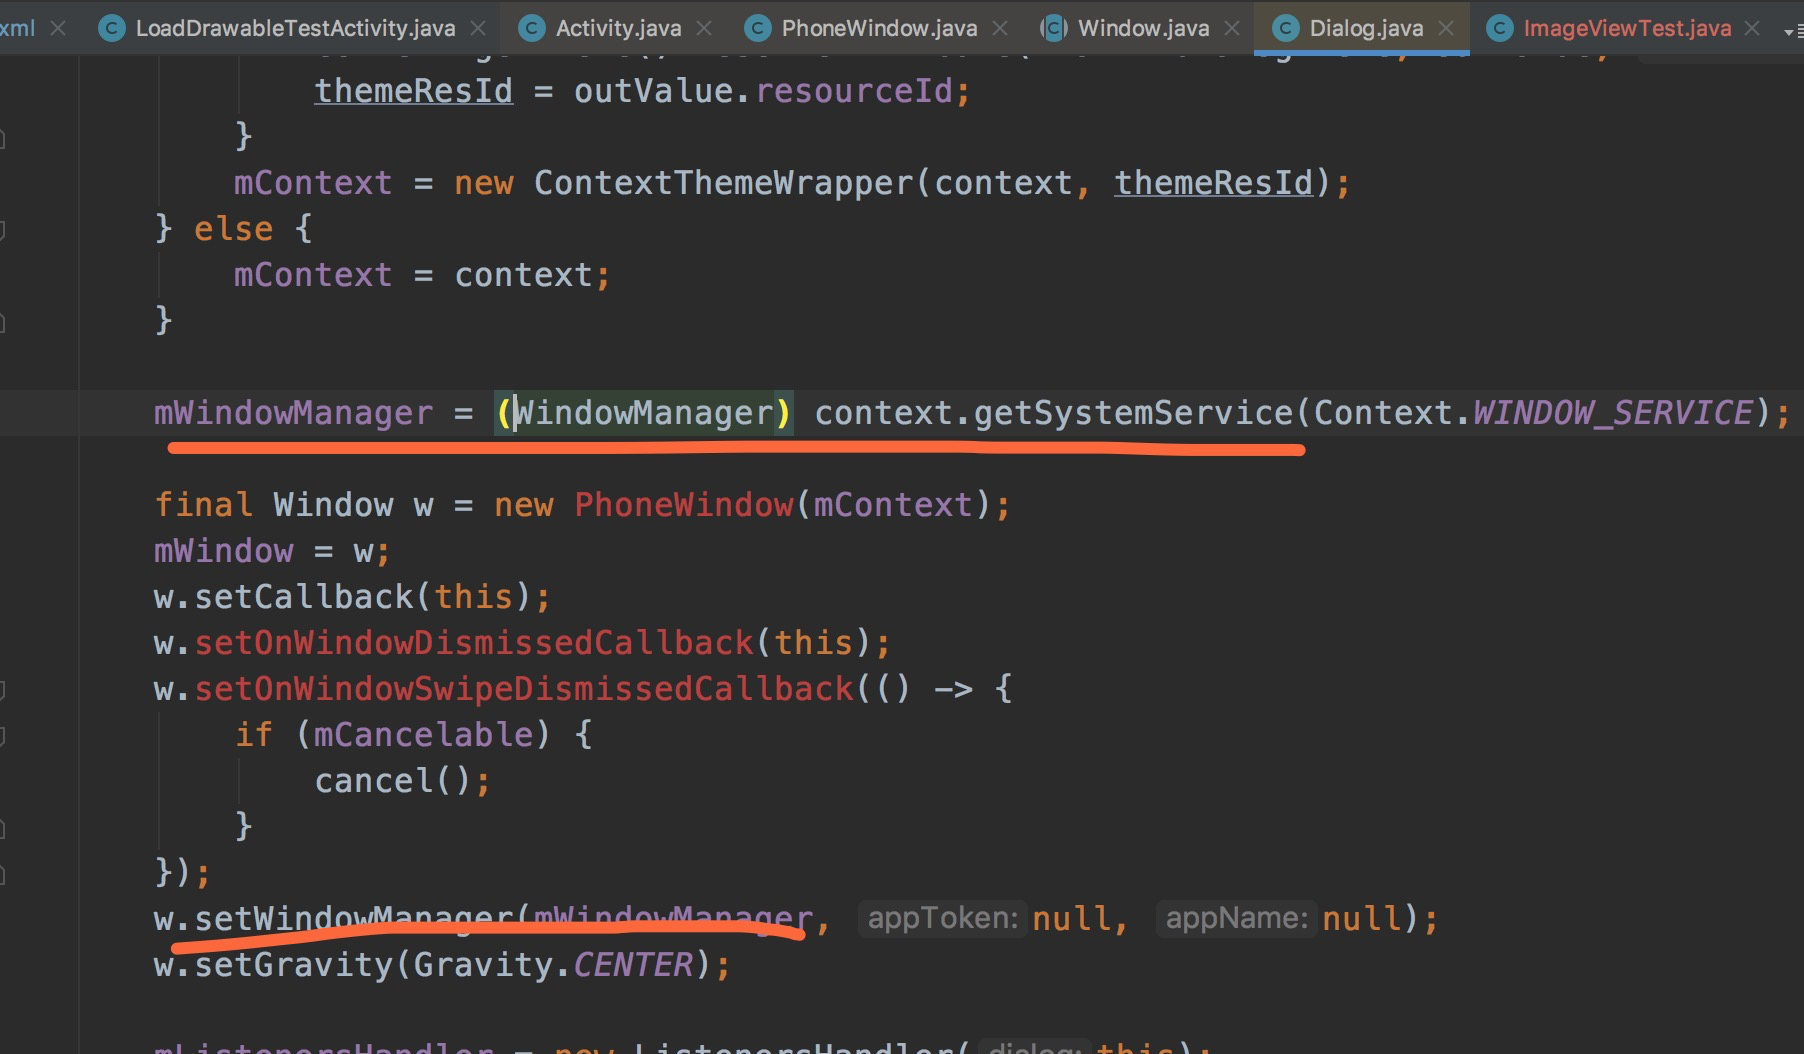
you have to create your own custom renderer and apply it to your chart. Here's a rough implementation.
XML
<?xml version="1.0" encoding="utf-8"?>
<RelativeLayout xmlns:android="http://schemas.android.com/apk/res/android"
    xmlns:tools="http://schemas.android.com/tools"
    android:id="@+id/activity_main"
    android:layout_width="match_parent"
    android:layout_height="250dp"
    android:paddingBottom="@dimen/activity_vertical_margin"
    android:paddingLeft="@dimen/activity_horizontal_margin"
    android:paddingRight="@dimen/activity_horizontal_margin"
    android:paddingTop="@dimen/activity_vertical_margin"
    tools:context="com.example.sauvik.samplegraphs.MainActivity">

    <com.github.mikephil.charting.charts.BarChart
        android:id="@+id/chart1"
        android:layout_width="match_parent"
        android:layout_height="match_parent"
        />

</RelativeLayout>
Activity
public class MainActivity extends AppCompatActivity {

    private BarChart mChart;
    int val[] = {3, 2, 7, 3, 4, 8};
    ArrayList<Bitmap> imageList = new ArrayList<>();

    @Override
    protected void onCreate(Bundle savedInstanceState) {
        super.onCreate(savedInstanceState);
        setContentView(R.layout.activity_main);

        Bitmap bitmap = BitmapFactory.decodeResource(getResources(), R.drawable.ic_grade);
        imageList.add(bitmap);
        imageList.add(bitmap);
        imageList.add(bitmap);
        imageList.add(bitmap);
        imageList.add(bitmap);
        imageList.add(bitmap);

        mChart = (BarChart) findViewById(R.id.chart1);

        mChart.setDrawBarShadow(false);
        mChart.setDrawValueAboveBar(true);
        mChart.getDescription().setEnabled(false);
        mChart.setPinchZoom(false);
        mChart.setDrawGridBackground(false);


        XAxis xAxis = mChart.getXAxis();
        xAxis.setPosition(XAxis.XAxisPosition.BOTTOM);
        xAxis.setDrawGridLines(false);
        xAxis.setGranularity(1f);
        xAxis.setLabelCount(7);
        xAxis.setDrawLabels(false);


        YAxis leftAxis = mChart.getAxisLeft();
        leftAxis.setAxisLineColor(Color.WHITE);
        leftAxis.setDrawGridLines(false);
        leftAxis.setPosition(YAxis.YAxisLabelPosition.OUTSIDE_CHART);
        leftAxis.setAxisMinimum(0f); // this replaces setStartAtZero(true)

        YAxis rightAxis = mChart.getAxisRight();
        rightAxis.setEnabled(false);
        Legend l = mChart.getLegend();
        l.setEnabled(false);
        setData();

    }

    private void setData() {

        ArrayList<BarEntry> yVals1 = new ArrayList<BarEntry>();
        for (int i = 0; i < val.length; i++) {
            yVals1.add(new BarEntry(i, val[i]));
        }

        BarDataSet set1;

        set1 = new BarDataSet(yVals1, "");

        set1.setColors(Color.BLUE);
        ArrayList<IBarDataSet> dataSets = new ArrayList<IBarDataSet>();
        dataSets.add(set1);

        BarData data = new BarData(dataSets);
        data.setDrawValues(false);
        mChart.setData(data);
        mChart.setScaleEnabled(false);
        mChart.setRenderer(new BarChartCustomRenderer(mChart, mChart.getAnimator(), mChart.getViewPortHandler(), imageList, this));
        mChart.setExtraOffsets(0, 0, 0, 20);

    }

}
CUSTOM RENDERER
public class BarChartCustomRenderer extends BarChartRenderer {

    private Context context;
    private ArrayList<Bitmap> imageList;

    public BarChartCustomRenderer(BarDataProvider chart, ChartAnimator animator, ViewPortHandler viewPortHandler, ArrayList<Bitmap> imageList, Context context) {
        super(chart, animator, viewPortHandler);
        this.context = context;
        this.imageList = imageList;
    }

    @Override
    public void drawValues(Canvas c) {
        List<IBarDataSet> dataSets = mChart.getBarData().getDataSets();
        final float valueOffsetPlus = Utils.convertDpToPixel(22f);
        float negOffset;

        for (int i = 0; i < mChart.getBarData().getDataSetCount(); i++) {

            IBarDataSet dataSet = dataSets.get(i);
            applyValueTextStyle(dataSet);
            float valueTextHeight = Utils.calcTextHeight(mValuePaint, "8");
            negOffset = valueTextHeight + valueOffsetPlus;

            BarBuffer buffer = mBarBuffers[i];

            float left, right, top, bottom;

            for (int j = 0; j < buffer.buffer.length * mAnimator.getPhaseX(); j += 4) {

                left = buffer.buffer[j];
                right = buffer.buffer[j + 2];
                top = buffer.buffer[j + 1];
                bottom = buffer.buffer[j + 3];

                float x = (left + right) / 2f;

                if (!mViewPortHandler.isInBoundsRight(x))
                    break;

                if (!mViewPortHandler.isInBoundsY(top) || !mViewPortHandler.isInBoundsLeft(x))
                    continue;

                BarEntry entry = dataSet.getEntryForIndex(j / 4);
                float val = entry.getY();
                mValuePaint.setTextAlign(Paint.Align.CENTER);
                if (val > 0) {

                    drawValue(c, dataSet.getValueFormatter(), val, entry, i, x,
                            (bottom + negOffset),
                            dataSet.getValueTextColor(j / 4));
                }

                Bitmap bitmap = imageList.get(j / 4);

                if (bitmap != null) {
                    Bitmap scaledBitmap = getScaledBitmap(bitmap);
                    c.drawBitmap(scaledBitmap, x - scaledBitmap.getWidth() / 2f, (bottom + 0.5f * negOffset) - scaledBitmap.getWidth() / 2f, null);
                }
            }
        }
    }


    private Bitmap getScaledBitmap(Bitmap bitmap) {
        int width = (int) context.getResources().getDimension(R.dimen.dimen_18);
        int height = (int) context.getResources().getDimension(R.dimen.dimen_18);
        return Bitmap.createScaledBitmap(bitmap, width, height, true);
    }


}
RESULT

You can replace the stars with your own images.
If you want to know how custom renderer works Check this link
回答2:
I have found how to do it extremely easy:
Add another data set with values set to -1, and provide a drawable upon creating that entry: new Entry(i, value, icon)
Use setStartAtZero(false) to enable drawing of negative values.
Set data set color to transparent in order to make this dataSet invisible to user.
I admit, that this is pretty hacky solution, but it is easy and doesn't require copy pasting and rewriting code form the lib, so it is easier to maintain updated.


