This is my attempt:
func round() {
    let width = bounds.width < bounds.height ? bounds.width : bounds.height
    let mask = CAShapeLayer()
    mask.path = UIBezierPath(ovalInRect: CGRectMake(bounds.midX - width / 2, bounds.midY - width / 2, width, width)).CGPath

    self.layer.mask = mask

    // add border
    let frameLayer = CAShapeLayer()
    frameLayer.path = mask.path
    frameLayer.lineWidth = 4.0
    frameLayer.strokeColor = UIColor.whiteColor().CGColor
    frameLayer.fillColor = nil

    self.layer.addSublayer(frameLayer)
}
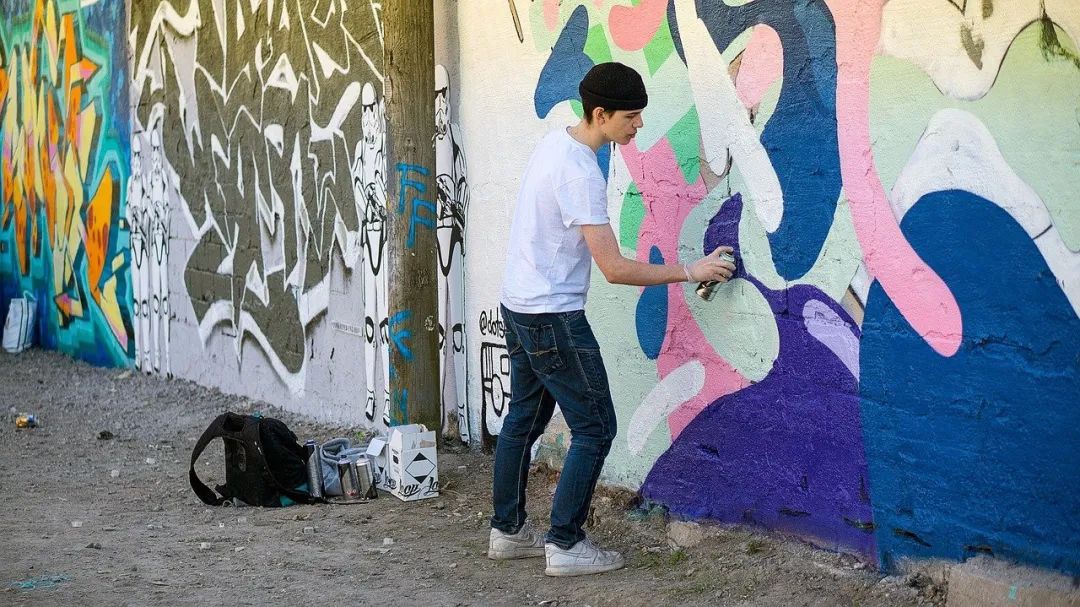
It works on the iphone 6 simulator (storyboard has size of 4.7), but on the 5s and 6+ it looks weird:


Is this an auto layout issue? Without the border, auto layout works correct. This is my first time working with masks and so I am not sure if what I have done is correct.
round function is called in viewDidLayoutSubviews.
Any thoughts?
If you have subclassed UIImageView, for example, you can override layoutSubviews such that it (a) updates the mask; (b) removes any old border; and (c) adds a new border. In Swift 3:
import UIKit

@IBDesignable
class RoundedImageView: UIImageView {

    /// saved rendition of border layer

    private weak var borderLayer: CAShapeLayer?

    override func layoutSubviews() {
        super.layoutSubviews()

        // create path

        let width = min(bounds.width, bounds.height)
        let path = UIBezierPath(arcCenter: CGPoint(x: bounds.midX, y: bounds.midY), radius: width / 2, startAngle: 0, endAngle: .pi * 2, clockwise: true)

        // update mask and save for future reference

        let mask = CAShapeLayer()
        mask.path = path.cgPath
        layer.mask = mask

        // create border layer

        let frameLayer = CAShapeLayer()
        frameLayer.path = path.cgPath
        frameLayer.lineWidth = 32.0
        frameLayer.strokeColor = UIColor.white.cgColor
        frameLayer.fillColor = nil

        // if we had previous border remove it, add new one, and save reference to new one

        borderLayer?.removeFromSuperlayer()
        layer.addSublayer(frameLayer)
        borderLayer = frameLayer
    }
}
That way, it responds to changing of the layout, but it makes sure to clean up any old borders.
By the way, if you are not subclassing UIImageView, but rather are putting this logic inside the view controller, you would override viewWillLayoutSubviews instead of layoutSubviews of UIView. But the basic idea would be the same.
--
By the way, I use a mask in conjunction with this shape layer because if you merely apply rounded corners of a UIView, it can result in weird artifacts (look at very thin gray line at lower part of the circular border):

If you use the bezier path approach, no such artifacts result:

For Swift 2.3 example, see earlier revision of this answer.
The easiest way is to manipulate the layer of the image view itself.
imageView.layer.cornerRadius = imageView.bounds.size.width / 2.0
imageView.layer.borderWidth = 2.0
imageView.layer.borderColor = UIColor.whiteColor.CGColor
imageView.layer.masksToBounds = true
You can include this in viewDidLayoutSubviews or layoutSubviews to make sure the size is always correct.
NB: Maybe this technique makes your circle mask obsolete ;-). As a rule of thumb, always choose the simplest solution.


